
Setting Up Smart Pet Fountain for Hassle-Free Hydration
Over 60 percent of pet owners report that their animals do not drink enough water each day. This can lead to health issues that worry every caring pet parent. A smart pet fountain offers an easy solution by encouraging pets to drink more with clean, flowing water. Setting it up the right way means you give your furry friend the best chance at staying healthy and hydrated while avoiding common troubles during installation.
Table of Contents
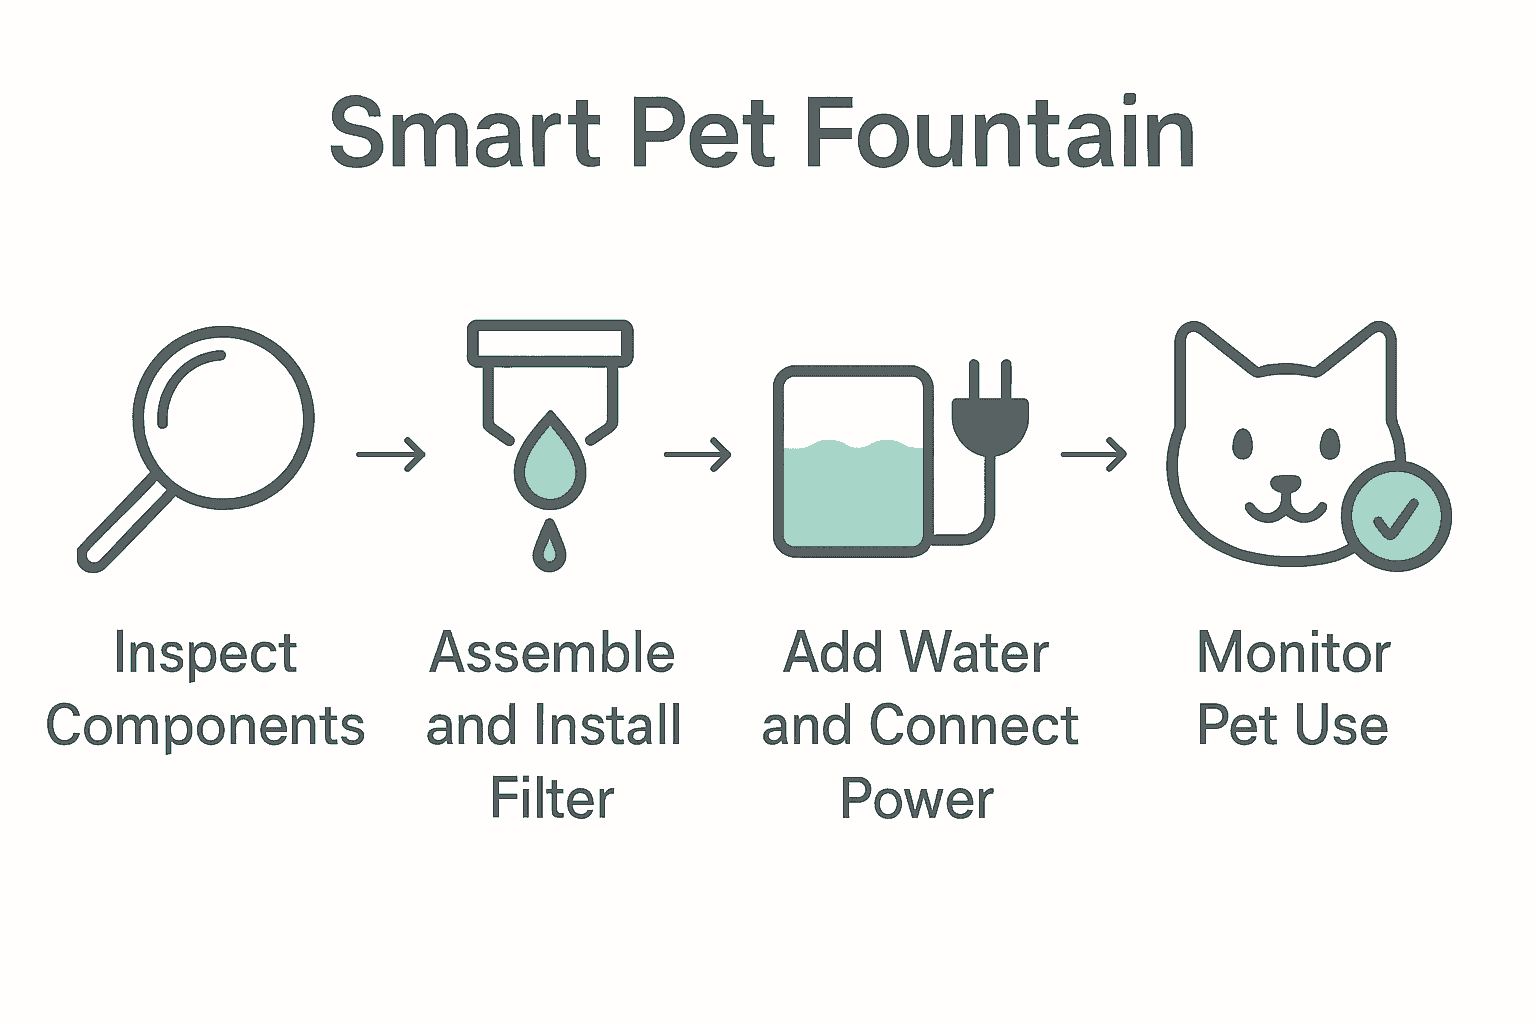
- Step 1: Unpack And Inspect Fountain Components
- Step 2: Assemble Fountain And Attach Filters
- Step 3: Connect Power And Fill With Water
- Step 4: Configure Fountain Modes And Flow Settings
- Step 5: Test Operation And Monitor Pet Interaction
Quick Summary
| Key Point | Explanation |
|---|---|
| 1. Inspect all components carefully | Examine each part for damage and ensure all pieces are present for smooth setup. |
| 2. Assemble with patience and precision | Follow alignment markers for parts and check connections to ensure proper water flow and filtration. |
| 3. Use appropriate water temperature | Fill the tank with cool or room temperature water to avoid pump issues and ensure healthy hydration. |
| 4. Observe pet preferences in flow settings | Test different water stream intensities to find the best option for your pet’s drinking habits. |
| 5. Monitor pet interaction over time | Watch your pet initially to encourage use and ensure they are comfortable with the new fountain system. |
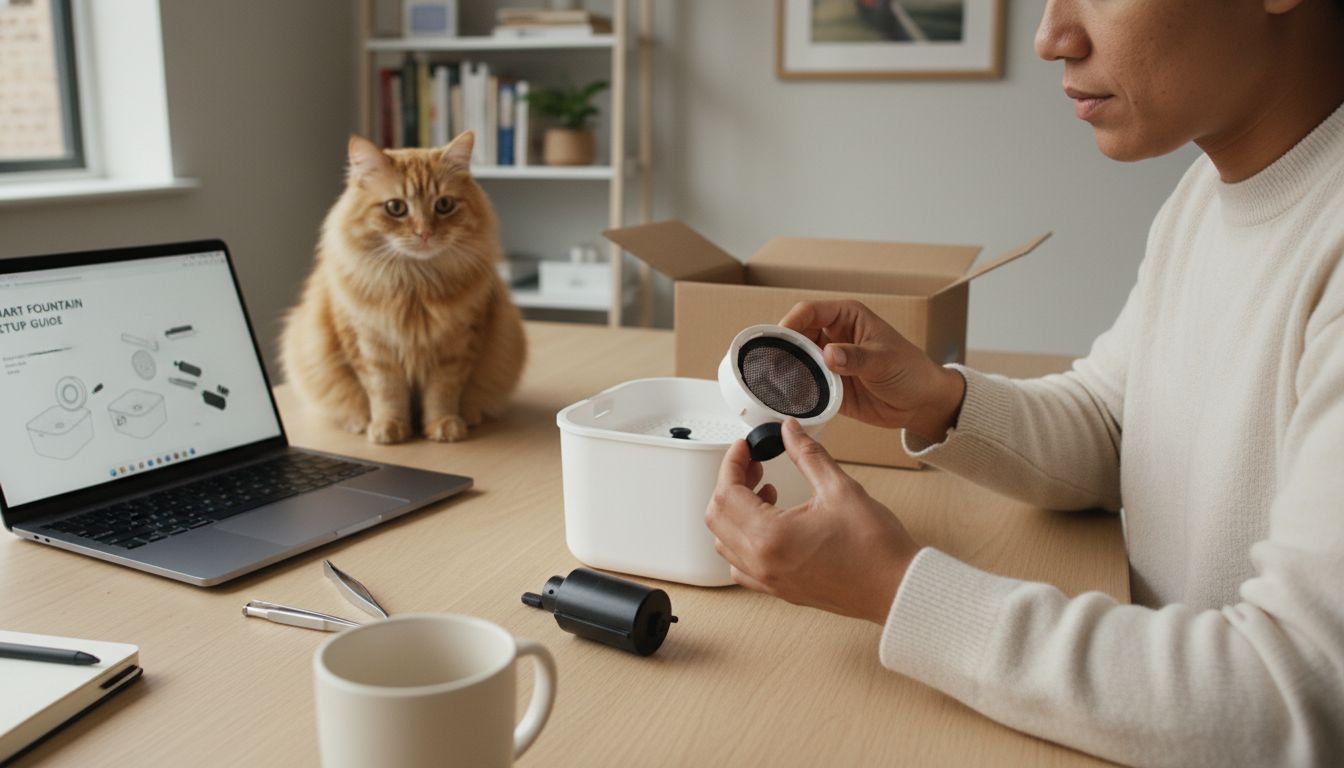
Step 1: Unpack and Inspect Fountain Components
Getting your smart pet fountain ready for action starts with careful unpacking and initial component inspection. Your goal in this step is to methodically examine each piece and prepare them for setup.
According to mi.com, the first step involves removing several key components including the drinking tray, water pipe, filter holder, filter, and water tank. As you unpack, spread out all the pieces on a clean surface and do a quick count to ensure everything is present. Check each component for any shipping damage or manufacturing defects.
Pay special attention to delicate parts like the filter and water pump connection. Pro tip: keep the waterproof rubber plug on the power port securely closed during initial inspection and cleaning. Handle each piece gently and avoid using hot water when rinsing components. Note that the water pump should remain connected and should not be removed during this process. A careful initial inspection will help ensure smooth setup and prevent potential issues down the line.
By taking your time with this foundational step, you are setting yourself up for a hassle free smart pet fountain experience that will keep your furry friend hydrated and happy.
Step 2: Assemble Fountain and Attach Filters
Now that you have unpacked and inspected all the fountain components, it is time to bring everything together and prepare the filtration system for your pet’s hydration station. This step involves carefully connecting the various parts to create a seamless water circulation mechanism that will keep your furry friend’s water clean and fresh.
Begin by locating the filter holder and the replacement filter. Gently insert the filter into the designated holder ensuring a snug and secure fit. Most smart pet fountains have specific alignment markers or grooves that help guide you during installation. Take your time to align the filter correctly and make sure there are no gaps that could compromise the water filtration process.
As you assemble the components, pay close attention to the water pump and pre filter connections. Some fountains have delicate connection points that require gentle handling. A helpful pro tip is to check the filter placement from multiple angles to confirm it is seated properly. Once everything is connected, do a quick visual inspection to verify all parts are securely in place. This careful assembly sets the stage for the next step where you will add water and prepare the fountain for its first use.
Your patience and attention to detail during this assembly process will ensure a reliable and efficient water fountain that keeps your pet hydrated and healthy.
Step 3: Connect Power and Fill with Water
With your smart pet fountain assembled, you are now ready to bring it to life by connecting power and adding water. This critical step transforms your carefully prepared components into a functional hydration system for your beloved pet.
Locate the power cord and ensure the waterproof rubber plug is securely closed before plugging into an electrical outlet. Choose a location near a power source that is stable and away from potential water splashes. When filling the water tank, use cool or room temperature water and carefully pour it to the recommended fill line. Most smart pet fountains have clear markings to help you gauge the correct water level without overfilling.
Pro tip: Before fully committing to the final placement, do a quick test run to check water circulation and ensure no leaks are present. Listen for smooth pump operation and watch how water flows through the fountain. If everything sounds and looks good, you can now position the fountain in your pet’s preferred drinking area. This careful approach ensures a smooth setup and helps prevent potential electrical or water flow issues that could disrupt your pet’s hydration routine.
Your smart pet fountain is now ready to provide clean circulating water that will encourage your pet to stay happily hydrated throughout the day.
Step 4: Configure Fountain Modes and Flow Settings
With your smart pet fountain powered up and ready, it is time to explore its customizable features and optimize the water flow for your pet’s specific drinking preferences. This step transforms your fountain from a simple water dispenser into a personalized hydration experience.
Most smart pet fountains offer multiple flow settings designed to accommodate different pet sizes and drinking behaviors. Start by exploring the control panel or mobile app associated with your fountain. Look for options that allow you to adjust water stream intensity settings from gentle trickle to more robust flow. Consider your pet’s personality some cats prefer a soft stream while others enjoy a more dynamic water movement that catches their attention.
Pro tip: Observe your pet’s initial interactions with the fountain. Some animals need time to adjust to the new water source. If your pet seems hesitant, start with the lowest flow setting and gradually increase intensity. Many smart fountains also include additional modes like quiet operation for nighttime use or energy saving settings that can help reduce electricity consumption. Take time to experiment with different configurations to find the perfect balance that encourages your pet to stay hydrated while keeping the fountain running smoothly.
By carefully configuring these settings, you are creating an inviting water experience that will support your pet’s health and encourage consistent water intake.
Step 5: Test Operation and Monitor Pet Interaction
With your smart pet fountain assembled and configured, the final crucial step is testing its operation and observing how your pet adapts to this new hydration system. According to Hombli, these fountains are designed to encourage pets to drink more by providing flowing water that feels fresher and cleaner, ultimately promoting better health and longevity.
Begin by running the fountain for several hours and monitoring its performance. Listen for consistent water flow, check that the pump operates smoothly, and ensure there are no unusual sounds or vibrations. Watch your pet’s initial interactions carefully some animals might be curious and approach immediately, while others might need gentle encouragement. Place a few treats near the fountain to help create a positive association and make the new water source feel inviting.
Pro tip: Be patient during the transition period. Some pets might take a few days to fully embrace the new fountain. If your pet seems hesitant, try positioning the fountain in their favorite drinking area and avoid forcing interaction. Many interactive pet accessories can help make the introduction more engaging. Monitor your pet’s water intake and watch for signs they are comfortable with the new system a slight increase in hydration is a great indicator of success.
Your careful observation and gentle guidance will help your pet adapt to this smart hydration solution, ensuring they stay healthy and well hydrated.
Make Your Pet’s Hydration Hassle-Free with Smart Solutions
Setting up your smart pet fountain is just the beginning of ensuring your furry friend stays hydrated and healthy. We understand the challenges of assembling and maintaining these systems—from carefully handling delicate filter components to finding the perfect water flow settings that your pet will love. Moments of hesitation or uncertainty can make it tough to provide fresh, flowing water consistently.
At Paw Heroes Shop, we have carefully curated a collection of Smart Pet Water Fountains | Paw Heroes Shop that combine easy setup with durable design and customizable features. These fountains help solve common pain points by offering seamless assembly, quiet pump operation, and adjustable flow modes tailored to your pet’s preferences.
Don’t wait to upgrade your pet’s hydration experience and prevent frustration in your daily routine. Visit Paw Heroes Shop today and explore our smart water fountains along with complementary Interactive Pet Toys & Accessories | Paw Heroes Shop to keep your pet engaged and healthy. Start now to turn hydration into your pet’s favorite part of the day.
Frequently Asked Questions
How do I unpack and inspect the components of my smart pet fountain?
Carefully remove the drinking tray, water pipe, filter holder, filter, and water tank from the packaging. Spread out all pieces on a clean surface to check for any shipping damage or missing parts before assembling.
What steps should I follow to assemble my smart pet fountain?
Begin by inserting the filter into the filter holder and ensuring it fits snugly. Pay attention to the water pump and pre-filter connections, and visually inspect to confirm all parts are connected properly before proceeding.
How much water should I add to my smart pet fountain?
Fill the water tank to the recommended fill line, using cool or room temperature water to prevent any damage. It’s essential to avoid overfilling, so check the markings on the tank closely.
How can I configure the flow settings for my pet’s preferences?
Explore the control panel or associated app to adjust the water flow intensity according to your pet’s drinking behavior. Start with a gentle setting and gradually increase it based on your pet’s reactions, ensuring it meets their comfort level.
What should I do if my pet is hesitant to use the new fountain?
Be patient and gently encourage your pet to approach the fountain by placing treats nearby to create a positive association. Monitor their interaction for a few days, allowing them to adjust to the new hydration system naturally.
How do I test the operation of my smart pet fountain?
Run the fountain for several hours while listening for a consistent water flow and observing the pump’s operation. Ensure there are no unusual sounds or leaks, and confirm that your pet is engaging with it for optimal hydration.
Recommended
- Amazon
- Amazon
- Automatic Pet Drinking Fountain | Smart Water Dispenser for Cats & DogsPaw Heroes Shop
- Electric Pet Water Fountain | Automatic Cat & Dog Dispenser with LED DisplayPaw Heroes Shop
- What is a Water Dispenser? Understanding Its Functionality - Coway Water Purifier
- Watering Indoor Plants Made Easy: Your Step-by-Step Guide - Lushy Gardens